
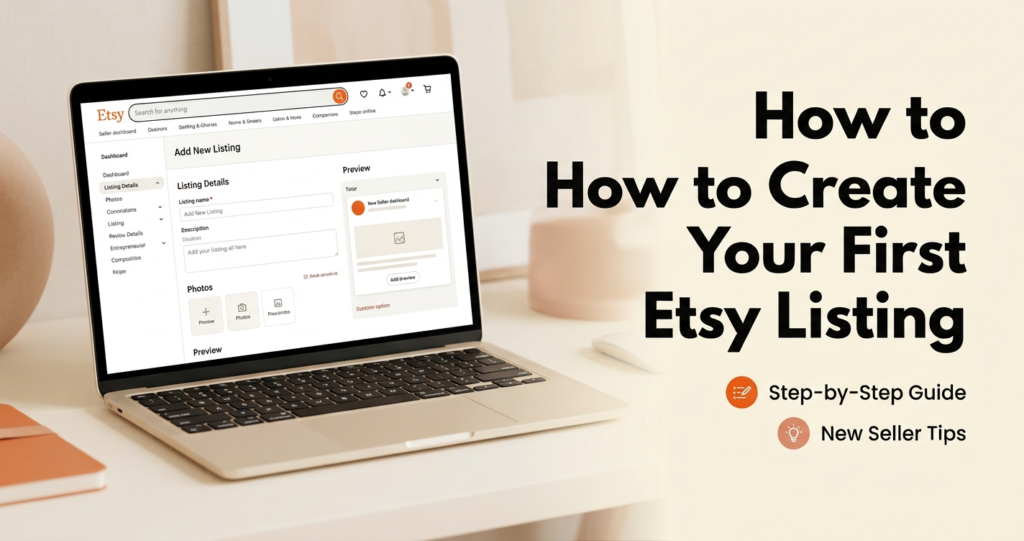
To create first Etsy listing is exciting.
It’s the moment your product finally becomes available for shoppers to discover and buy.
But it can also feel intimidating.
Questions like these are common:
- What should I write in the title?
- How many photos do I need?
- How should I price my product?
- What description should I use?
- Which category should I choose?
The good news is that creating an Etsy listing is much easier once you understand the process.
If you haven’t opened your Etsy shop yet, I recommend going through my Etsy Checklist for Beginners: Everything You Need Before Opening Your Shop first. It covers everything you’ll need before creating your first listing and can help you avoid common beginner mistakes.
In this beginner-friendly guide, I’ll walk you through every step—from preparing your product to publishing your first listing.
Let’s get started.
1. Before You Click “Add Listing”
Before filling out Etsy’s listing form, make sure everything is ready.
Preparing in advance makes the process faster and helps you avoid mistakes.
Here’s a simple checklist.
A. Your Product Is Ready
Whether you’re selling:
- digital products
- handmade items
- Print on Demand products
- craft supplies
make sure your product is finished before creating the listing.
Double-check for spelling errors, missing files, or quality issues.
Before investing time in creating a listing, make sure your product idea has real demand. My guide on How to Validate an Etsy Product Idea Before You Sell It shows you simple ways to research products before you start selling.
B. Your Photos Are Ready
Prepare clear, high-quality images before you start.
Good photos help buyers understand exactly what they’re purchasing.
C. Your Price Is Decided
Don’t guess your pricing at the last minute.
Consider:
- production costs
- Etsy fees
- shipping costs
- profit margin
D. Your Description Is Drafted
Have a rough product description ready.
You can always improve it later.
E. Your Keywords Are Researched
Think about what buyers are likely to type into Etsy search.
Use those phrases naturally in your listing.
Beginner Tip
Don’t wait until every detail feels perfect.
Your first listing is a starting point—not the finished version.
You can edit and improve it anytime.
2. Upload High-Quality Photos
Photos are one of the most important parts of your listing.
They’re usually the first thing shoppers notice.
Great photos can increase:
- clicks
- trust
- sales
Poor photos can cause buyers to scroll past your listing—even if your product is excellent.
A. How Many Photos Should You Upload?
Use multiple images whenever possible.
Show:
- the product from different angles
- close-up details
- size comparisons
- what’s included
- the product in use
For digital products, include preview images that clearly show what buyers will receive.
B. Use the Right Image Size
Upload sharp, high-resolution images that look good on both desktop and mobile devices.
Avoid blurry, dark, or heavily cropped photos.
Great photos don’t just make your listing look professional—they can also improve your click-through rate in Etsy search. If you’re unsure about image dimensions, thumbnails, or mobile-friendly photos, read my guide on Best Etsy Listing Photo Size and Tips.
C. Make Your First Image Count
Your first image appears in Etsy search results.
It should immediately communicate:
- what the product is
- who it’s for
- why someone should click
A clean, eye-catching thumbnail can dramatically improve your click-through rate.
D. Lifestyle vs. Plain Background Photos
Both have advantages.
Lifestyle images help buyers imagine using the product.
Plain background photos clearly show important details.
Using a mix of both often creates the best shopping experience.
Quick Example
Imagine you’re selling a printable meal planner.
Your images could include:
- the cover page
- inside pages
- a mockup on a tablet
- a printed version on a desk
- a close-up of key features
These images answer questions before buyers even read the description.
3. Write a Click-Worthy Title
Your title helps both Etsy and potential buyers understand your listing.
A strong title should:
- clearly describe the product
- include important keywords
- remain easy to read
Avoid writing titles that sound like random lists of keywords.
Instead, write naturally.
A. Use Long-Tail Keywords
Long-tail keywords are more specific search phrases.
Instead of:
Planner
Try:
Minimalist Weekly Planner Printable for Students
Specific titles often attract buyers with clearer purchase intent.
Choosing the right keywords for your title can make a big difference in how easily buyers find your products. If you’d like more examples and proven title formulas, check out my complete guide on How to Write Etsy Titles That Get Clicks.
B. Avoid Keyword Stuffing
Repeating the same keyword multiple times doesn’t make your listing stronger.
Focus on clarity instead.
Beginner Example
Instead of:
Printable Planner Printable Planner PDF Planner Organizer Planner
Try:
Printable Weekly Planner | Undated Digital Planner | Productivity Planner PDF
The second title is easier to read and provides more useful information.
4. Choose the Right Category & Attributes
Categories help Etsy understand what you’re selling.
Choose the category that best matches your product.
After selecting a category, Etsy may ask for additional attributes such as:
- color
- material
- occasion
- style
- recipient
Complete as many relevant attributes as possible.
These details help Etsy match your listing with the right shoppers.
Avoid selecting categories simply because they appear popular.
Accuracy is more important.
Categories, attributes, titles, and tags all work together to help Etsy understand your listing. To learn more about how Etsy decides which products appear in search results, read How Etsy Search Works.
Common Mistake
Some beginners rush through categories and attributes.
Taking an extra minute to complete them accurately can improve how Etsy understands your listing.
5. Write a Helpful Product Description
Your description should answer the questions buyers are most likely to ask.
Instead of trying to “sell” aggressively, focus on helping the customer.
Include information such as:
- what the product is
- what’s included
- dimensions or file types
- materials (for physical products)
- usage instructions
- important notes
Keep your writing easy to scan with:
- headings
- bullet points
- short paragraphs
A helpful description builds confidence and reduces confusion.
Your product description should answer buyers’ questions while naturally including relevant keywords. If you’re unsure how to structure one, my guide on How to Write Etsy Product Descriptions That Sell walks you through the process step by step.
Beginner Tip
Write as though you’re explaining the product to a friend who’s seeing it for the first time.
Simple writing is usually more effective than complicated marketing language.
6. Set the Right Price
Pricing is one of the biggest decisions you’ll make.
Your price should account for:
- product costs
- Etsy fees
- shipping (if applicable)
- your time
- desired profit
Avoid choosing a price based only on what competitors charge.
Pricing is one of the biggest challenges for new sellers. Before publishing your listing, make sure you’ve calculated your costs, Etsy fees, and desired profit margin. My guide on How to Price Your Etsy Products as a Beginner explains exactly how to do that.
It’s also important to understand the fees Etsy charges for every sale. Read Etsy Fees Explained for Beginners to avoid unexpected costs.
Research the market, but calculate your own costs first.
Remember, your goal isn’t simply making a sale.
It’s building a profitable business.
7. Complete Shipping or Digital Delivery
The setup process depends on what you’re selling.
| Physical Products | Digital Products |
|---|---|
| Provide accurate information about: | Upload the correct files before publishing, Double-check that: |
| • shipping costs • processing time • delivery methods | • files open correctly • downloads work • all promised items are included |
| Clear shipping expectations reduce customer questions. | A quick review now can prevent support requests later. |
Clear listing information can prevent many questions after a buyer places an order. Once your shop starts receiving messages, our Etsy customer service guide can help you handle common buyer questions professionally.
8. Preview Before Publishing
Before your listing goes live, review everything carefully.
Ask yourself:
✅ Are the photos clear?
✅ Does the title describe the product?
✅ Is the price correct?
✅ Are all files uploaded?
✅ Are the tags relevant?
✅ Is the description easy to understand?
✅ Have you checked for spelling mistakes?
A five-minute review can save hours of fixing mistakes later.
Every Etsy seller makes mistakes in the beginning, but reviewing your listing carefully before publishing can help you avoid many of them. You can also read Etsy Seller Mistakes Beginners Make (And How to Avoid Them) to learn what to watch out for.
9. Publish Your First Listing
Congratulations!
Publishing your first listing is a huge milestone.
Don’t worry if everything isn’t perfect.
Every successful Etsy seller started with a first listing.
The important thing is taking action.
Celebrate this achievement—you’ve officially started your Etsy business.
10. What to Do After Publishing
Publishing isn’t the end of the process.
It’s the beginning.
After your listing goes live:
- share it on Pinterest or social media
- monitor views and favorites
- improve photos if needed
- refine your title and description
- continue adding new listings
Most successful Etsy shops grow because they consistently improve over time.
If your new listing isn’t getting much traffic at first, don’t panic. Learn how to optimize your shop with my guide on How to Get More Views on Etsy Listings, and once visitors start arriving, use these tips to Get Your First Etsy Sale Faster.
Don’t expect one listing to transform your business overnight.
Focus on learning, testing, and creating.
Small improvements can lead to big results.
Final Thoughts
Creating your first Etsy listing may feel overwhelming at first, but it becomes much easier with practice.
Focus on the fundamentals:
- quality products
- clear photos
- helpful titles
- informative descriptions
- accurate categories
- fair pricing
Remember, your first listing doesn’t need to be perfect.
The best Etsy sellers continue optimizing their listings long after they’re published.
The important thing is to start.
Once your first listing is live, you’re no longer planning an Etsy business—you’ve begun building one.
📚 Continue Your Etsy Journey
If you’re just getting started, these beginner guides can help you build and grow your Etsy shop:
- ✅ How to Choose an Etsy Shop Name (Beginner Guide)
- ✅ How to Create an Etsy Banner for Beginners
- ✅ How to Write Etsy Shop Policies for Beginners
- ✅ How Etsy Search Works
- ✅ How to Get Your First Etsy Sale Faster
FAQs about How to Create Etsy Listings
How do I create my first Etsy listing?
Prepare your product, upload high-quality photos, write a keyword-rich title, choose the correct category, add a helpful description, set your price, and publish the listing.
How many photos should an Etsy listing have?
Use multiple high-quality images that show different angles, details, and what’s included. More useful photos generally create a better shopping experience.
What should I write in my Etsy title?
Describe your product clearly using natural, relevant keywords that buyers are likely to search for.
Do product descriptions matter on Etsy?
Yes. A clear description helps buyers understand your product and can answer common questions before they make a purchase.
Should I preview my Etsy listing before publishing?
Absolutely. Reviewing your listing helps you catch mistakes with pricing, photos, spelling, or uploaded files.
Can I edit my Etsy listing after publishing?
Yes. You can update your title, photos, description, price, tags, and other details whenever needed.
How long does it take for a new Etsy listing to appear in search?
New listings may begin appearing relatively quickly, but visibility can improve over time as Etsy gathers data about their performance.
What should I do after publishing my first Etsy listing?
Share your listing, monitor its performance, continue improving it, and keep adding new products to your shop.